|
|
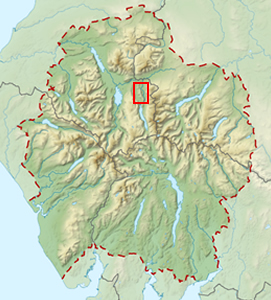
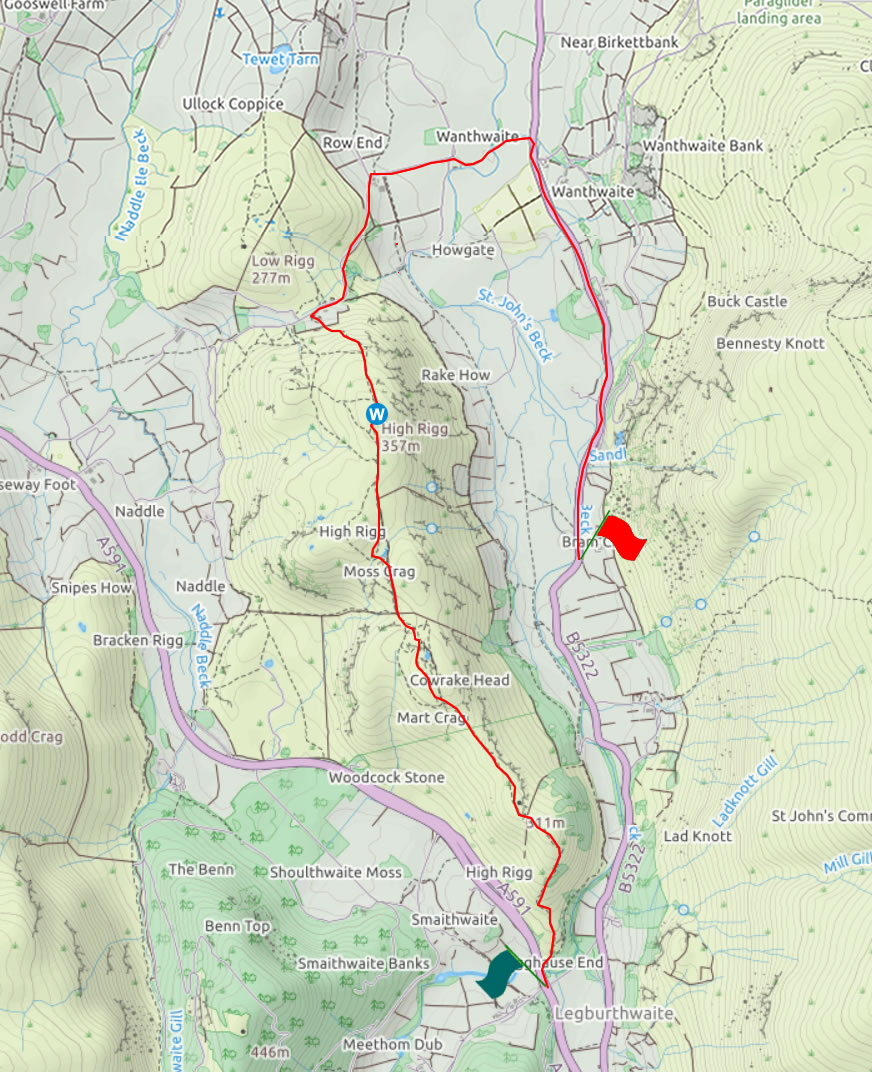
Walk 14 - High Rigg - 24th August 2017 |
||||
Wainwright's Walking Guide to the Lake District Fells - Book 3 The Central Fells |
||||
#18 High Rigg 1161 ft |
 |
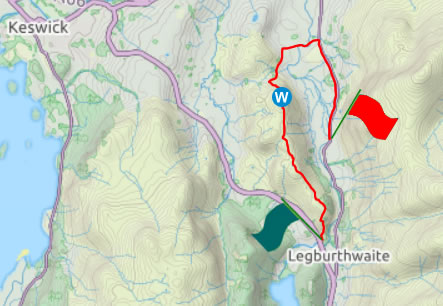
Distance |
5.7 miles |
|
Time |
3.5 hrs |
|||
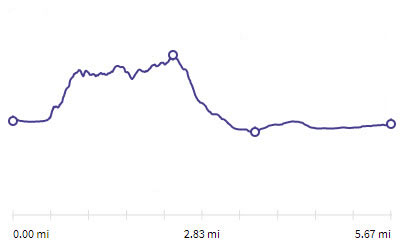
Lowest Point |
554 ft |
|||
Highest Point |
1161 ft |
|||
Total Ascent |
1256 ft |
|||
Walk Rating - easy |
||||
 |
Mini Route Map Go to walk start
|
 |
|---|
 |
|||||
|---|---|---|---|---|---|
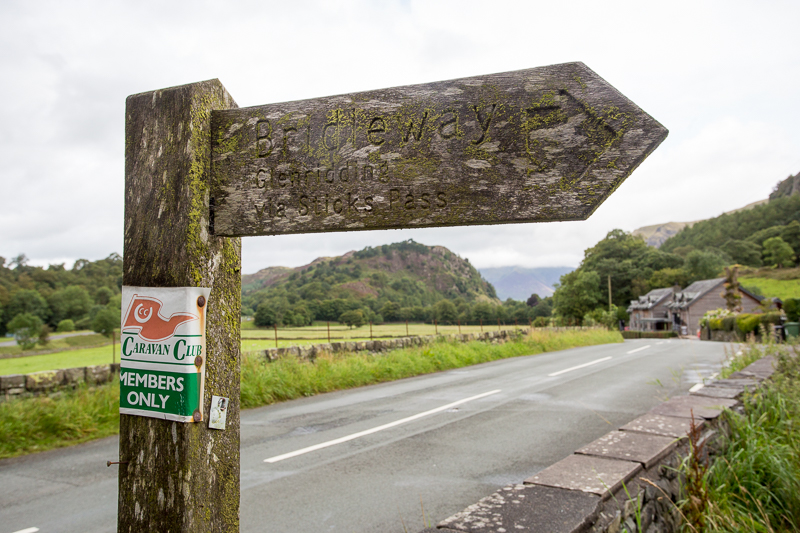
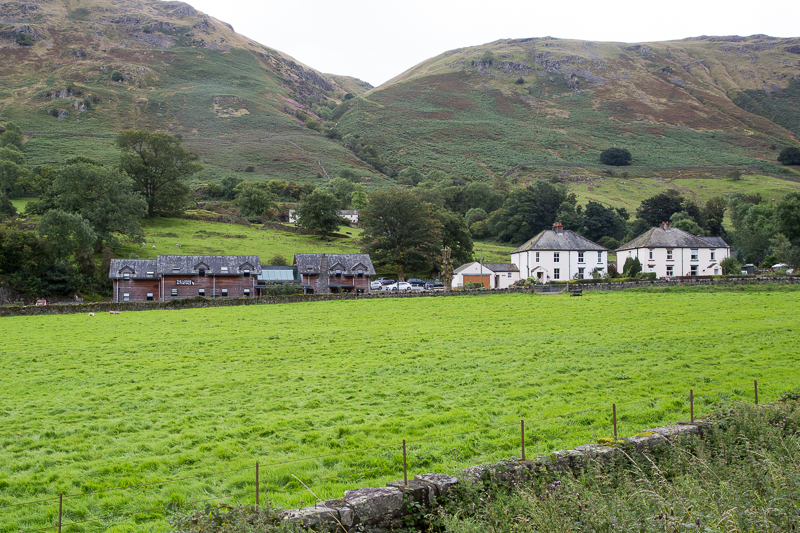
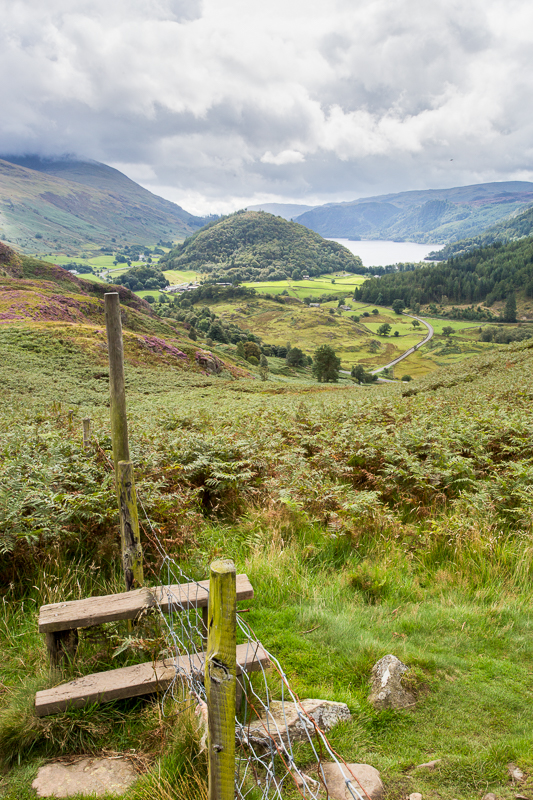
| 10.37 Sign to yesterday's walk, our lodgings and Wren Crag in the background. | |||||
 |
|||||
| 10.40 Our lodgings, looking up yesterdays route. | |||||
 |
||
|---|---|---|
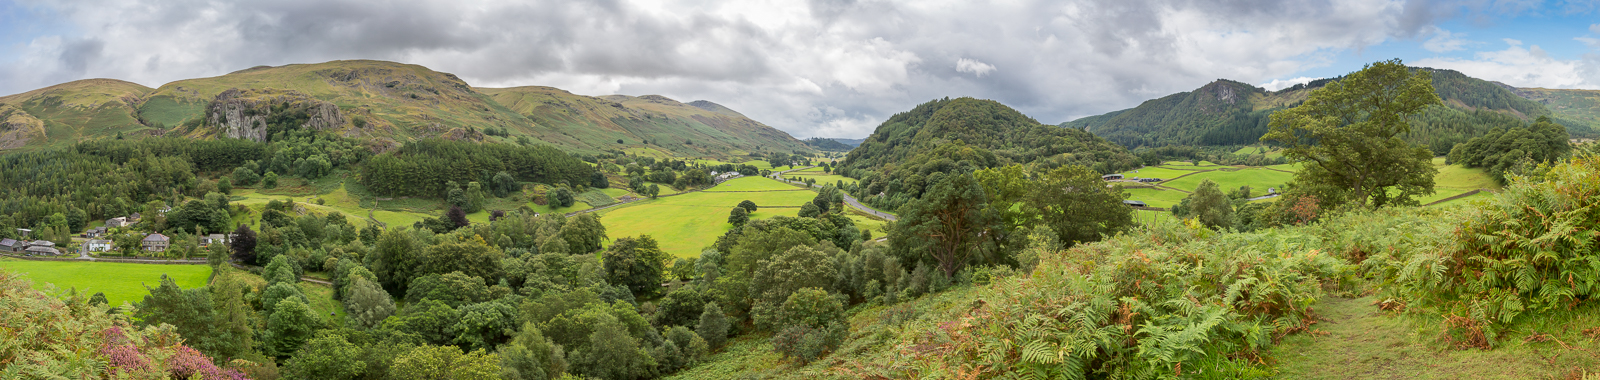
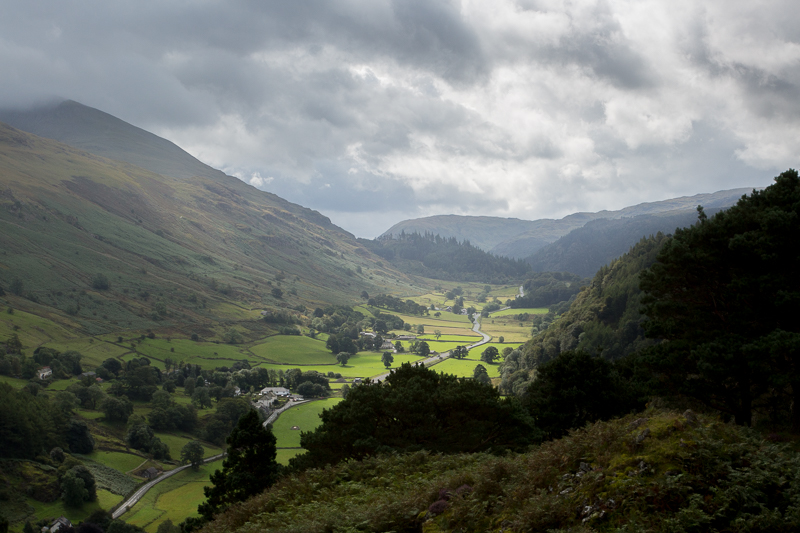
| 11.21 Panorama 171 Wren Crag view |
This lovely walk, starting with a climb through the pine trees of picturesque Wren Crag, traverses the length of High Rigg's south ridge. |
|||||
Alfred Wainwright - The Central Fells - High Rigg 5 |
|||||
 |
||
|---|---|---|
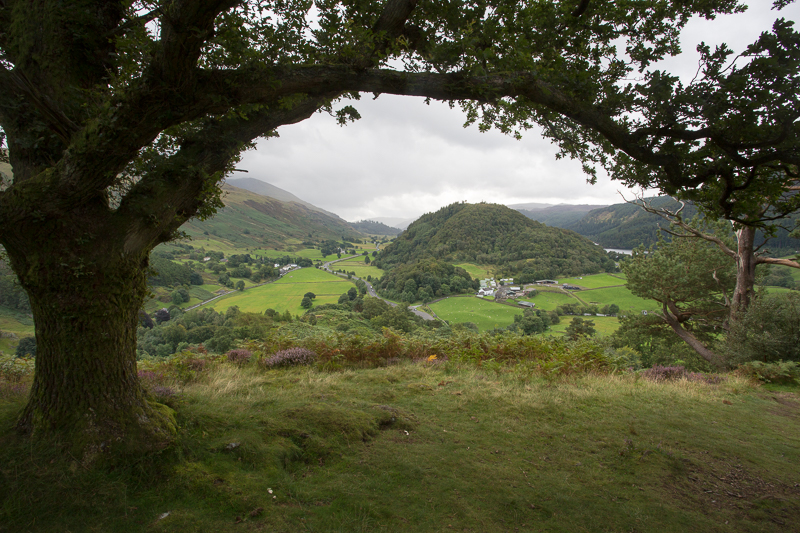
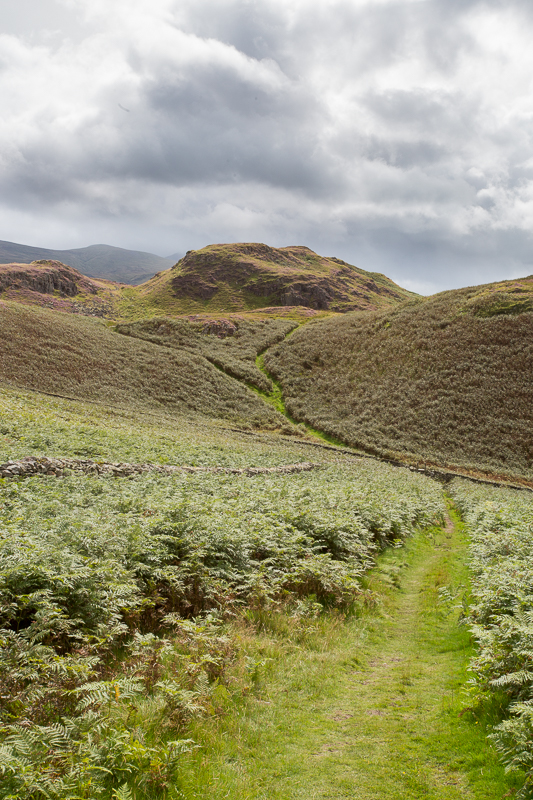
| 11.32 From Wren Crag looking south. | ||
 |
||
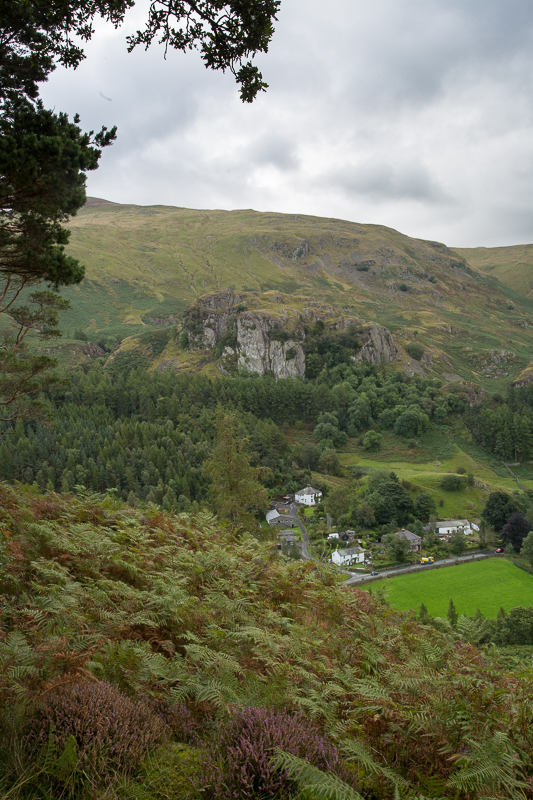
| 11.34 Castle Rock | ||
 |
||
| 11.41 Looking south to Steel Fell |
 |
||
|---|---|---|
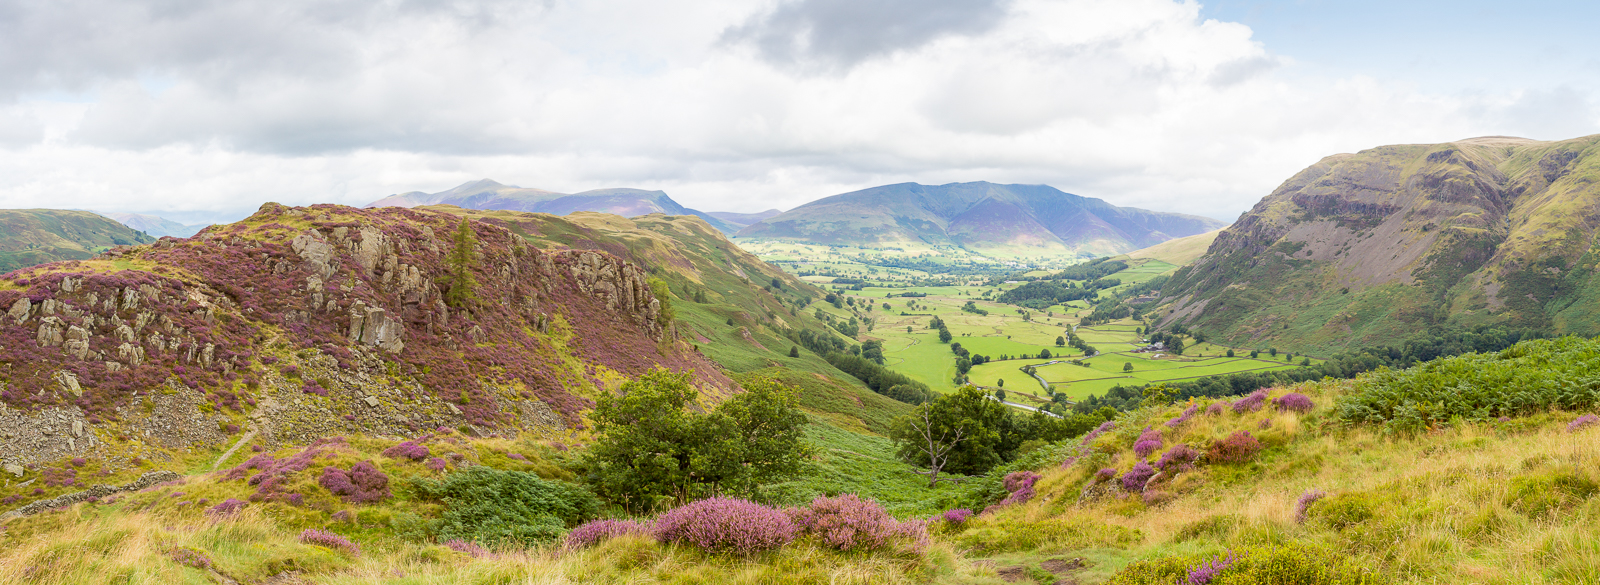
| 11.21 Panorama 172 Blencathra from High Rigg |
. . . a notch in the ridge at Long Band (camera out for a dramatic view of Blencathra here) . . . |
|||||
Alfred Wainwright - The Central Fells - High Rigg 5 |
|||||
 |
||
|---|---|---|
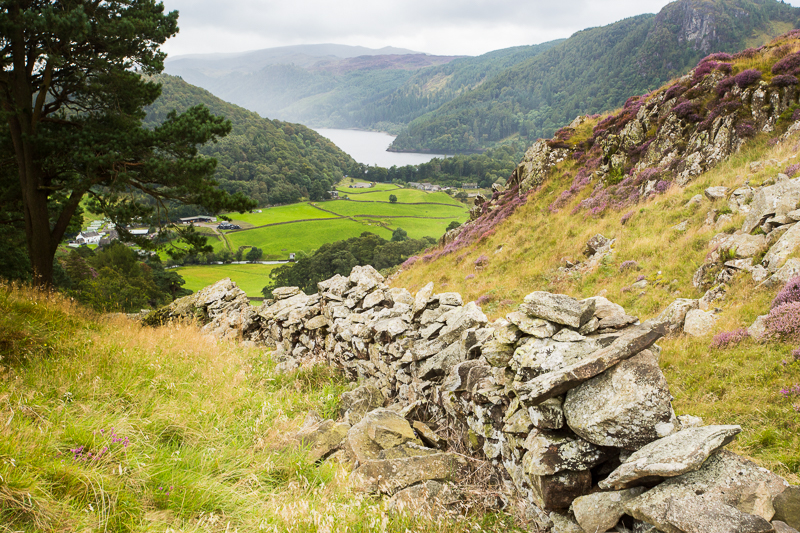
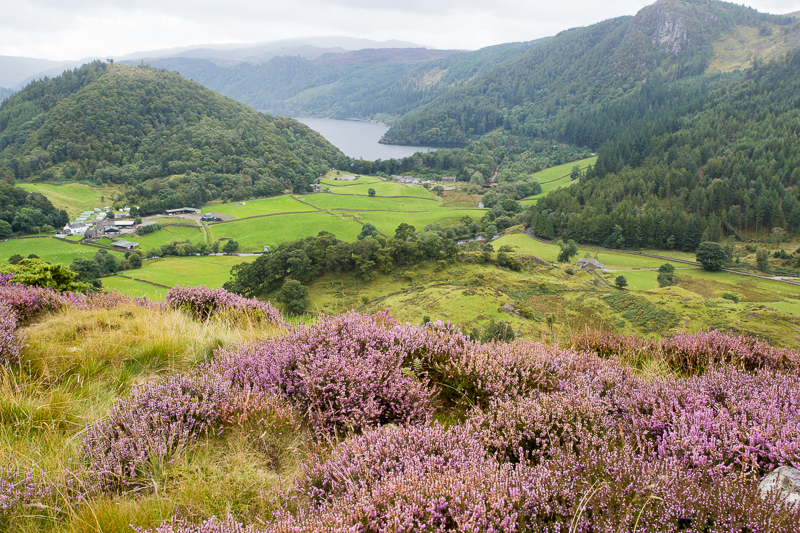
| 11.55 Thirlmere with Raven Crag on the right | ||
 |
||
| 11.57 Thirlmere | ||
 |
||
| 12.15 Thirlmere |
 |
||
|---|---|---|
| 12.22 Panorama 173 High Rigg |
 |
||
|---|---|---|
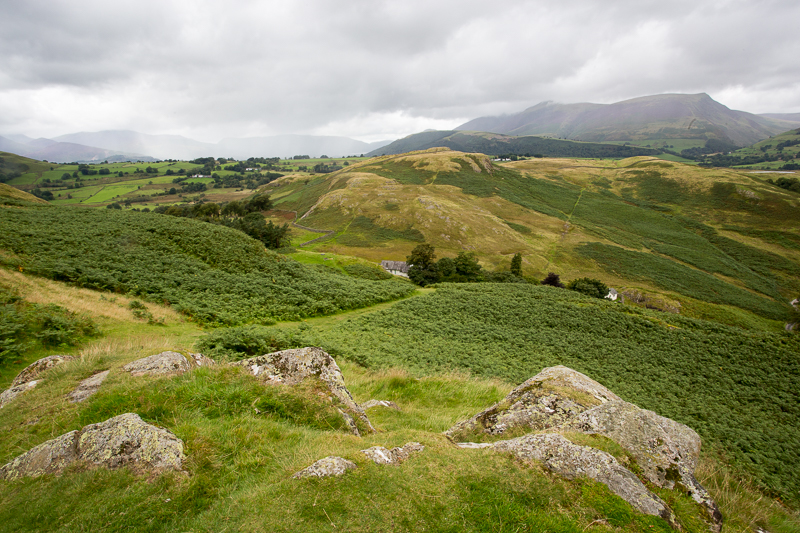
| 12.37 The path along the centre of High Rigg |
 |
||
|---|---|---|
| 12.53 Panorama 174 High Rigg summit. This walk was a significant one for me. I had strayed across it almost accidentally; I had intended to walked along the western side of Thirlmere but the road was blocked due to works in progress at the dam. I did not even have any water with me. However it was a beautiful day and not too warm so I managed with a few sweets. However by the time I had finished I had progressed in my mind from walking some Wainwrights when I came across them to making it a concrete target for the future. In the previous six years I had bagged just 14. In the following 12 months I would bag a further 32. |
 |
||
|---|---|---|
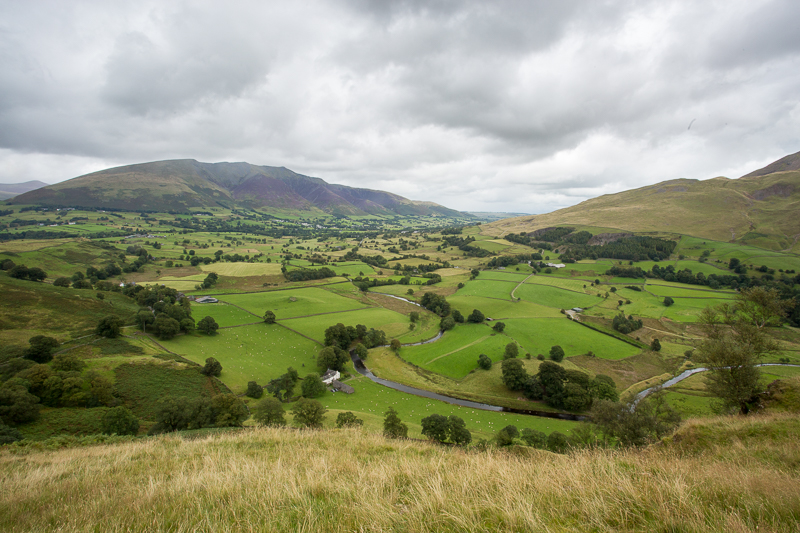
| 13.09 St.Johns in the Vale and Blencathra | ||
 |
||
| 12.11 Looking over Low Rigg towards Skiddaw. Tewett Tarn just visible on the right. | ||
 |
||
| 13.28 Back on the valley floor | ||
 |
||
13.50 Looking back at High Rigg. I walked back along the road and got a lift for part of the journey. Photos from later on and the following day. (NB. Some family photographs are not visible in the online version of this page.) |
||
 |
||
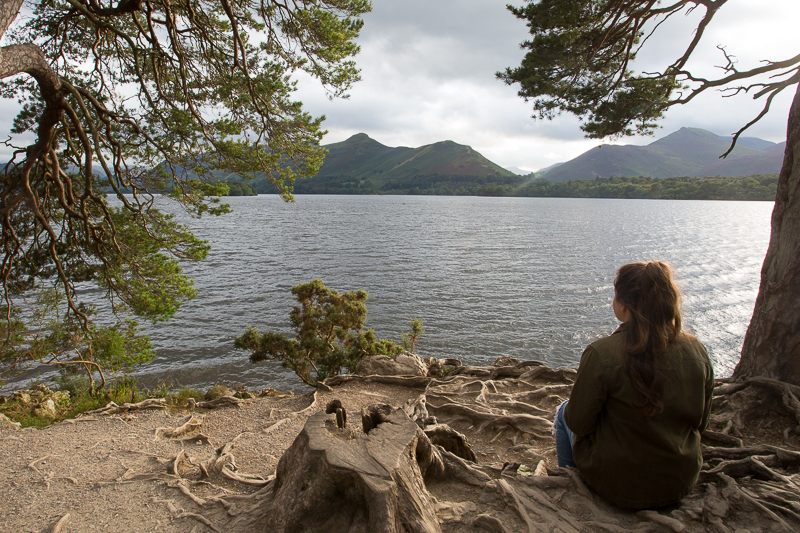
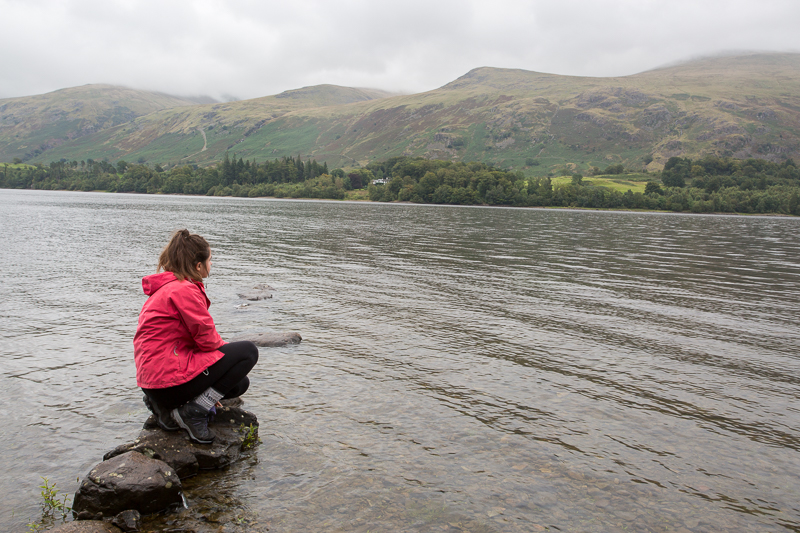
| 17.58 Derwentwater | ||
 |
||
| 18.26 Derwentwater | ||
 |
||
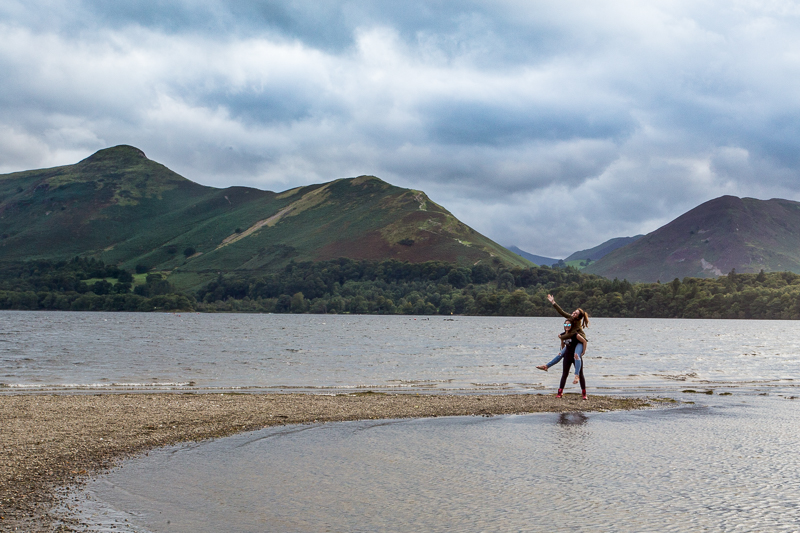
| 18.45 Derwentwater and Cat Bells | ||
 |
||
| 18.56 By Derwentwater | ||
 |
||
| 11.13 Next Day on Wren Crag | ||
 |
||
| 12.06 On the west side of Thirlmere | ||
 |
||
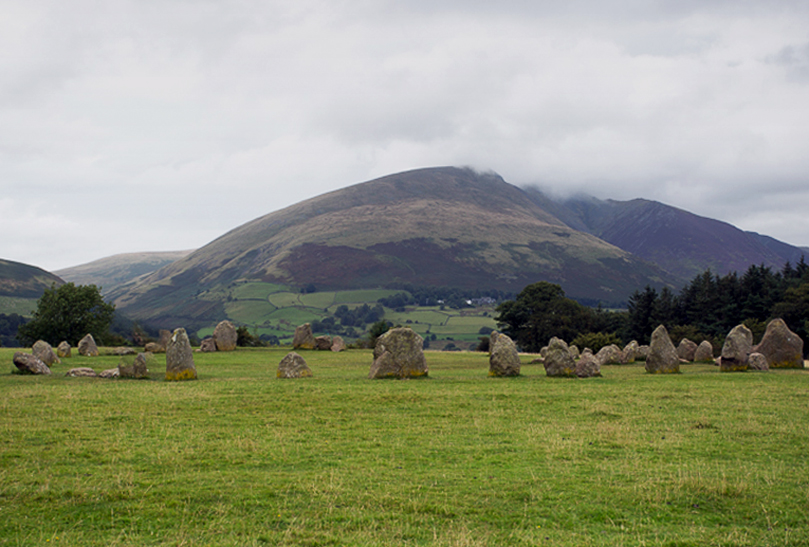
| 13.04 Castlerigg Stone Circle looking towards Blencathra | ||
 |
||
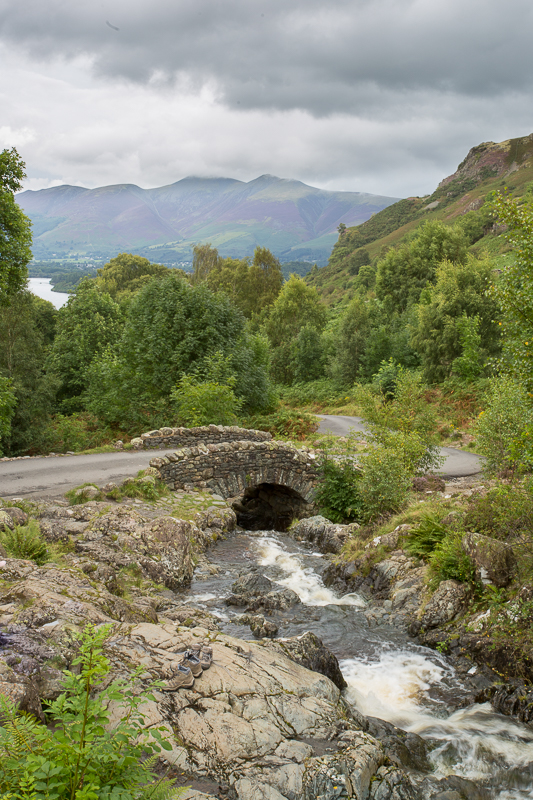
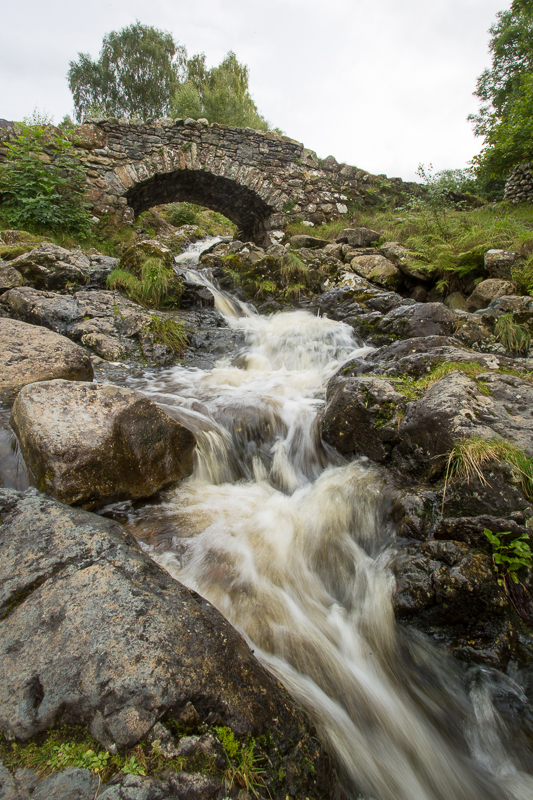
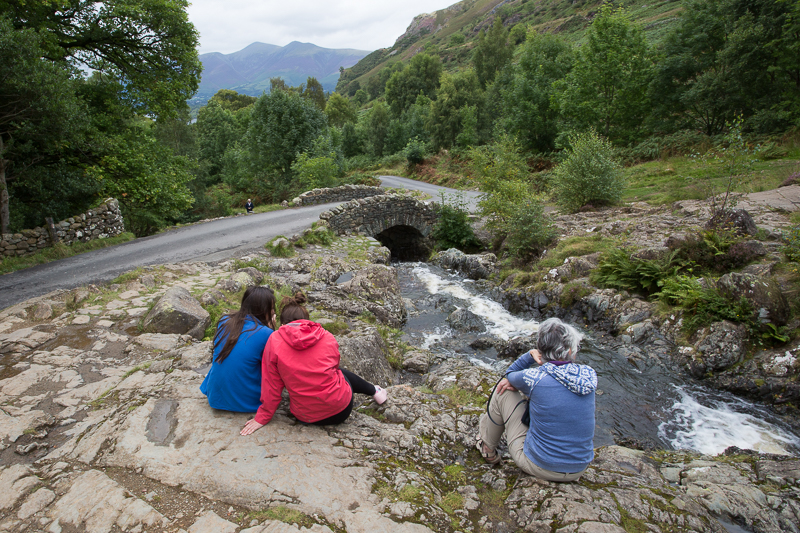
| 15.54 Ashness Bridge | ||
 |
||
| 16.13 Ashness Bridge | ||
 |
||
16.19 Ashness Bridge |
 |
||
|---|---|---|
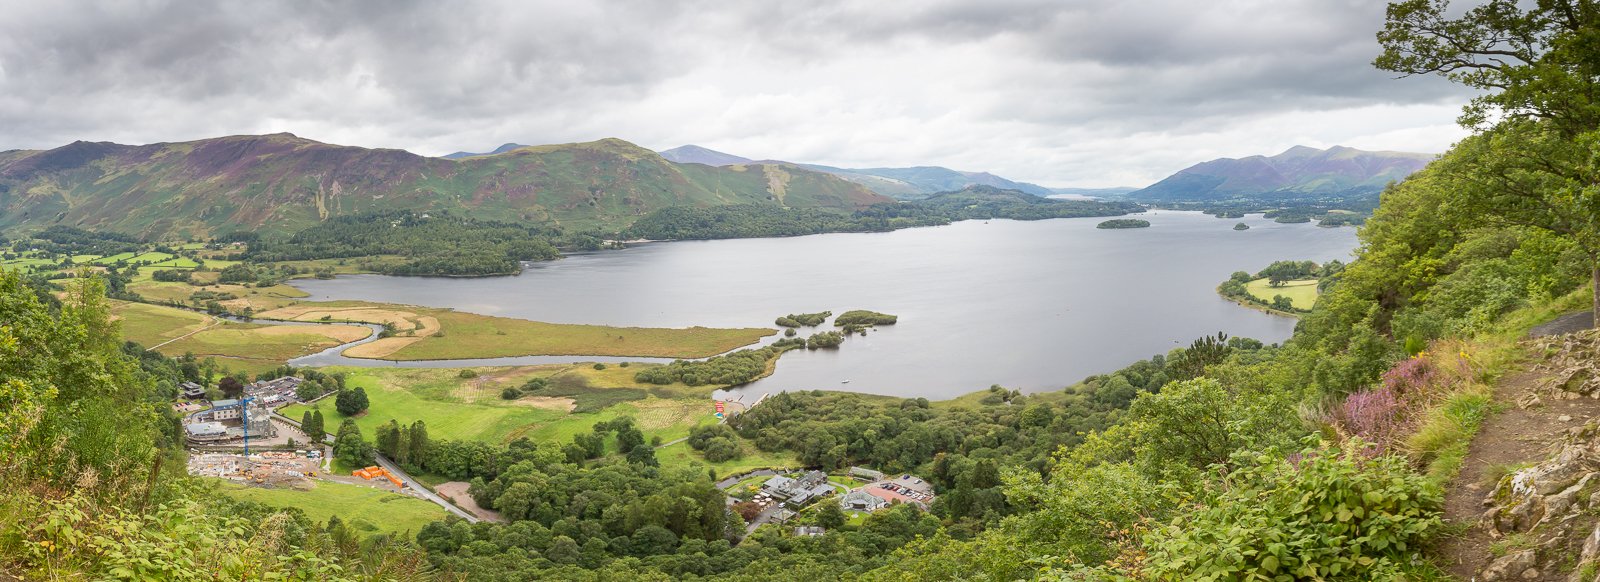
| 12.53 Panorama 175 Surprise View |
 |
||
|---|---|---|
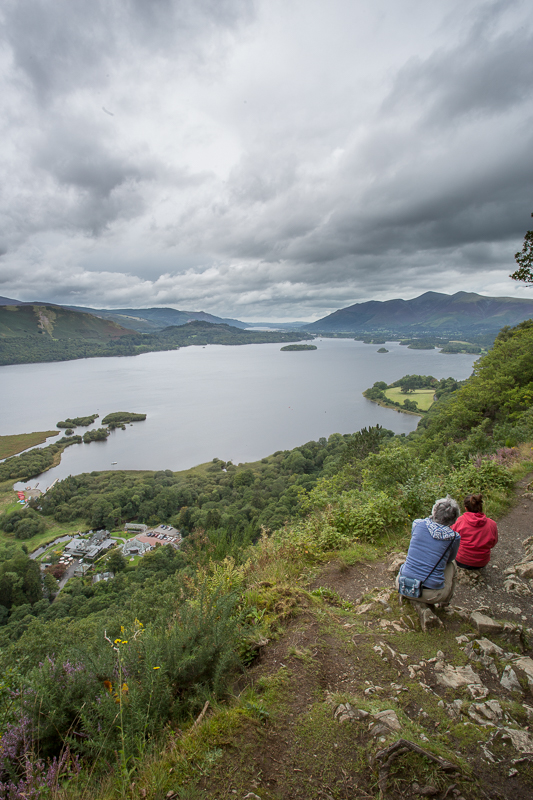
| 16.34 Surprise View | ||
 |
||
| 16.57 Watendlath | ||
|
|
 |
|---|